~STYLIZED WEEKEND PROJECT!!~ whoop whoop!
Got a lot more exciting things coming up with this guy, can't wait to share more.

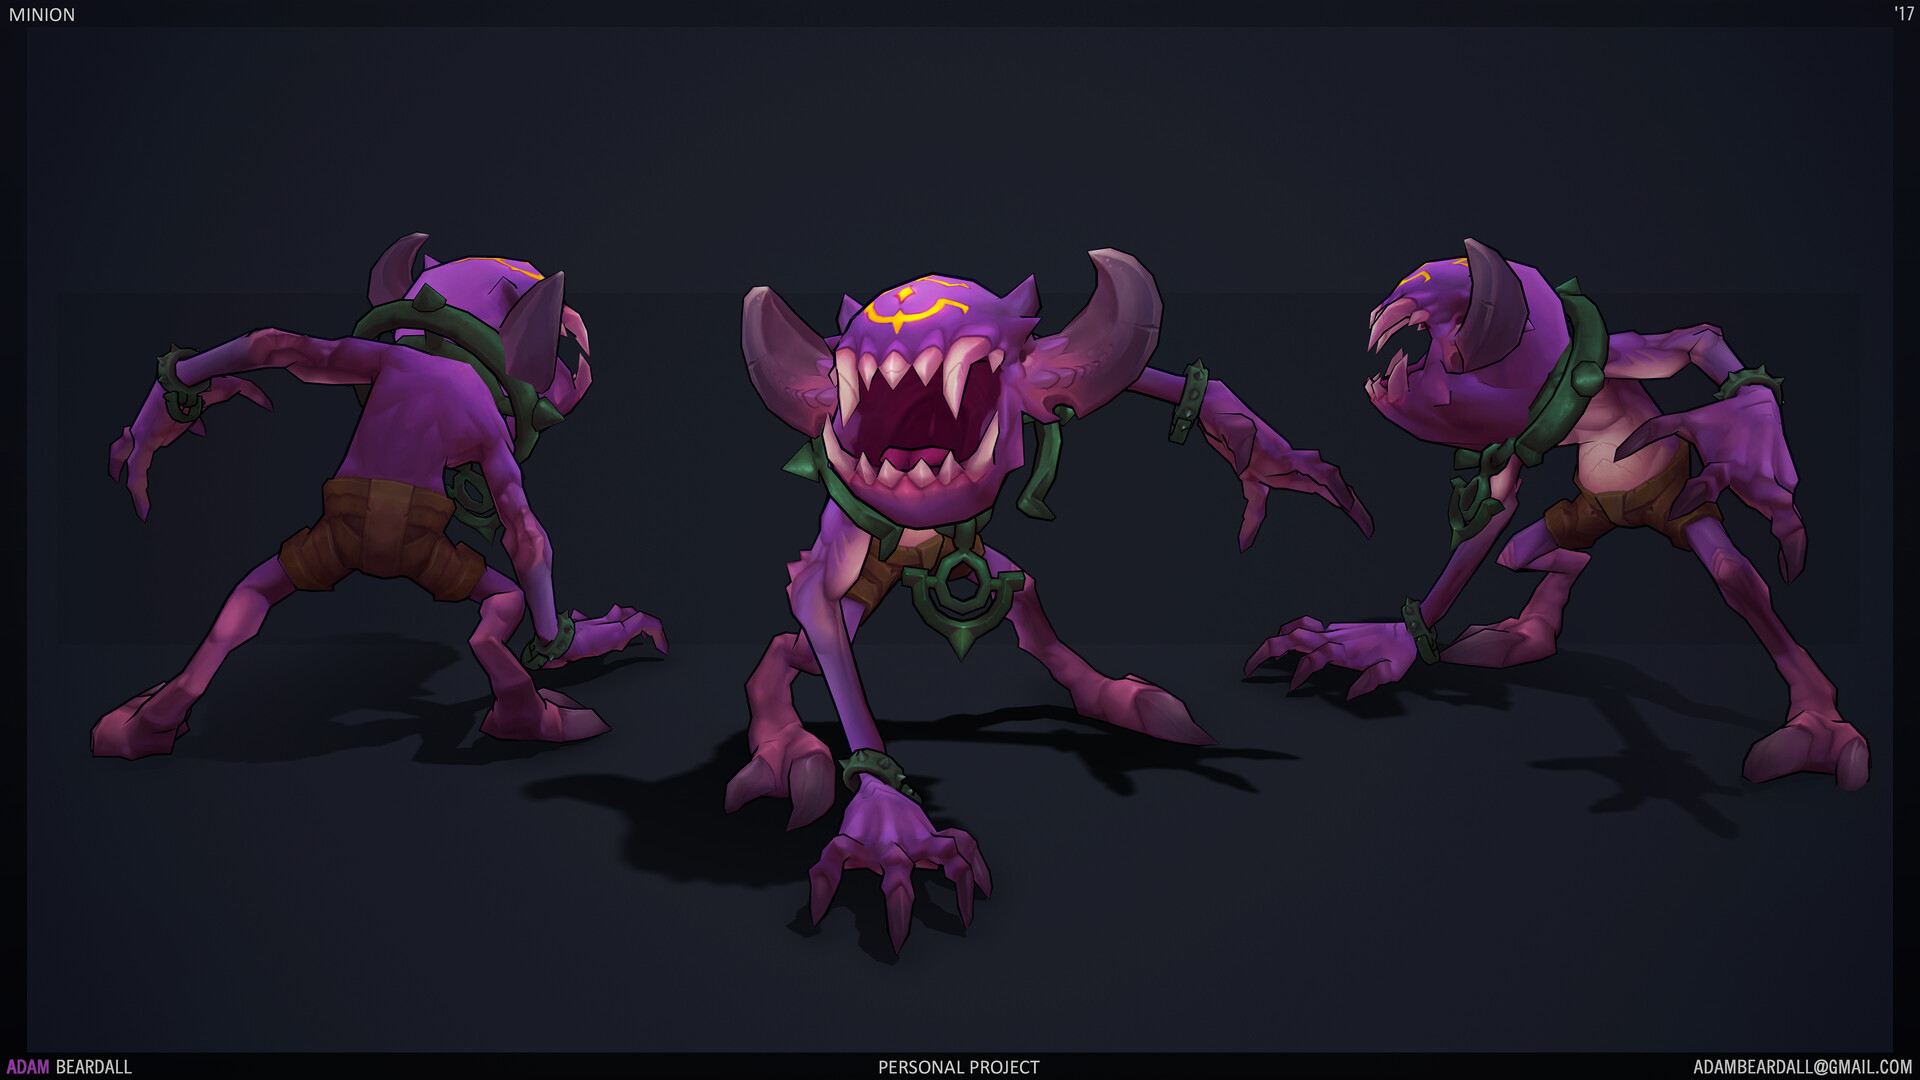
0. Gif "turntable" of where I'm at right now with the texture.
2. This was just trying to keep the same style and upping it a little bit. Wasn't getting the result I wanted, and decided to go off and just have fun with it!

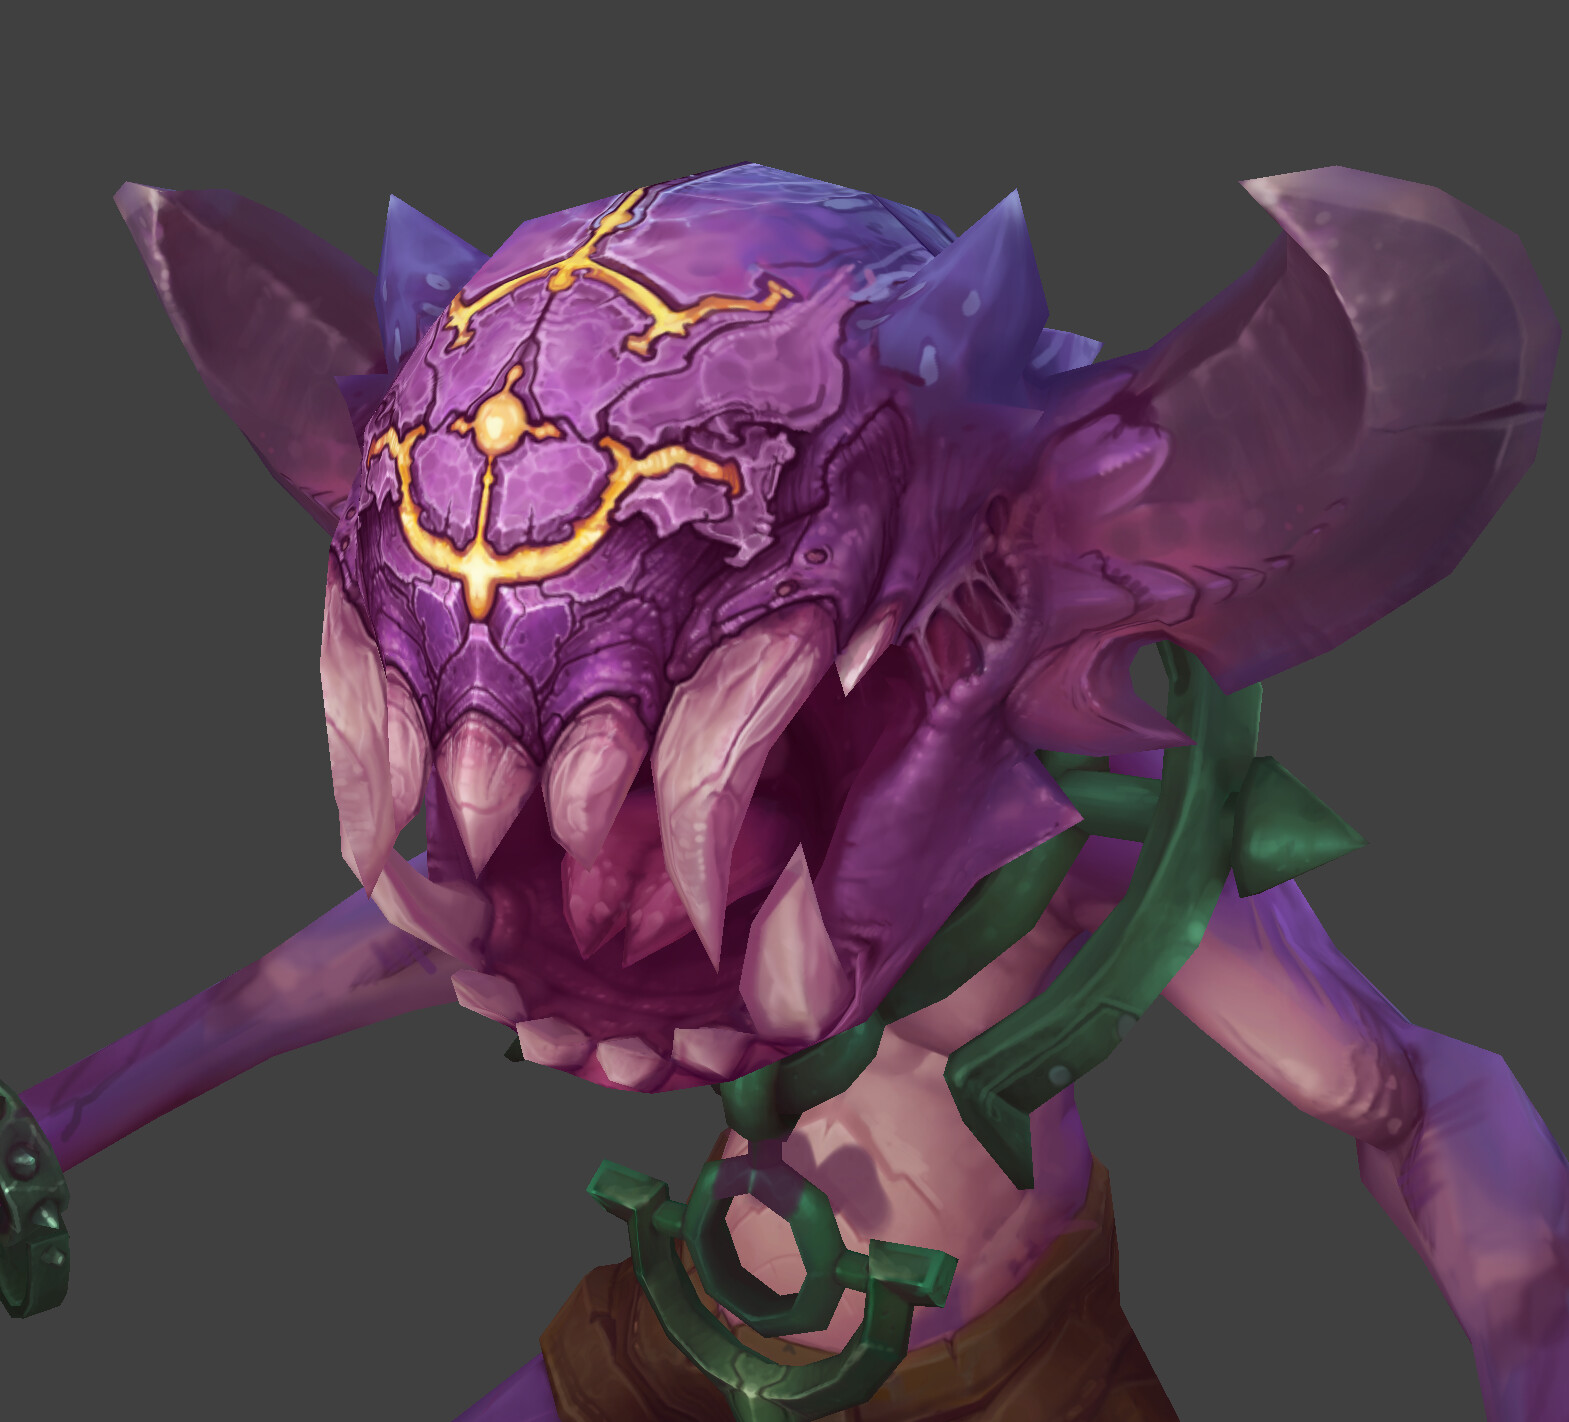
3. Starting on the last two days going a bit more loose exploring with a fresh new style. I really like a lot of the overall style of this, but some of the areas don't make a lot of sense. It can be a bit noisy and hard to read as well because of how the details were placed, especially around the "eye socket". I wasn't really wanting this guy to have standard eye sockets, so they had to change in some way.
4. Small test here to see what another option to go might be. I liked this one and pushed it from here.


5. This is where I'm currently at! I'm really liking the majority if this. Now just pushing the style onto the rest of the body. Most likely take another 2-3 days to finish up. Turned the middle spikes into crystals here.


~FIN.~
I'll have another post explaining some of the process through gifs later! -(need to find a better tool to make small gifs for uploading that isn't labor intensive to shrink down). Combination of finding the base shape to fill in, and then getting the initial shapes in depending on material. After that's done on a area, the clone/stitch tool helps to block in the other areas while retaining a lot of the original pallet and saving a load of time. Thanks for reading through this blog post! Really fun coming back to some stylized stuff after not having had the chance to do it in so long. Really enjoying working on this guy.
'Till next time! :)